Ever lost sleep wondering if someone could remotely access your data? Or worse, what happens when your system crashes during critical operations and there’s no way to shut it down safely? Yeah, we’ve been there too.
In this guide, you’ll learn everything about kill switch installation, from understanding its purpose to mastering the step-by-step process. We’ll also dive into best practices, real-world examples, FAQs, and a few spicy rants along the way. Let’s get started!
Table of Contents
- Why Do You Need a Kill Switch?
- Step-by-Step Kill Switch Installation Guide
- Tips & Best Practices for Kill Switch Setup
- Kill Switch Success Stories
- Frequently Asked Questions About Kill Switches
Key Takeaways
- A kill switch protects your devices by cutting off power or network connections in emergencies.
- Installation requires planning, tools, and adherence to safety protocols.
- Common mistakes include poor wiring choices and neglecting testing.
- We share actionable tips, examples, and an honest FAQ section to help you succeed.
Why Do You Need a Kill Switch?
“I once tried to manually unplug my server during an overload—spoiler alert: it wasn’t pretty.” If that sounds familiar, then a kill switch installation guide is exactly what you need.
Kill switches are lifesavers in scenarios like:
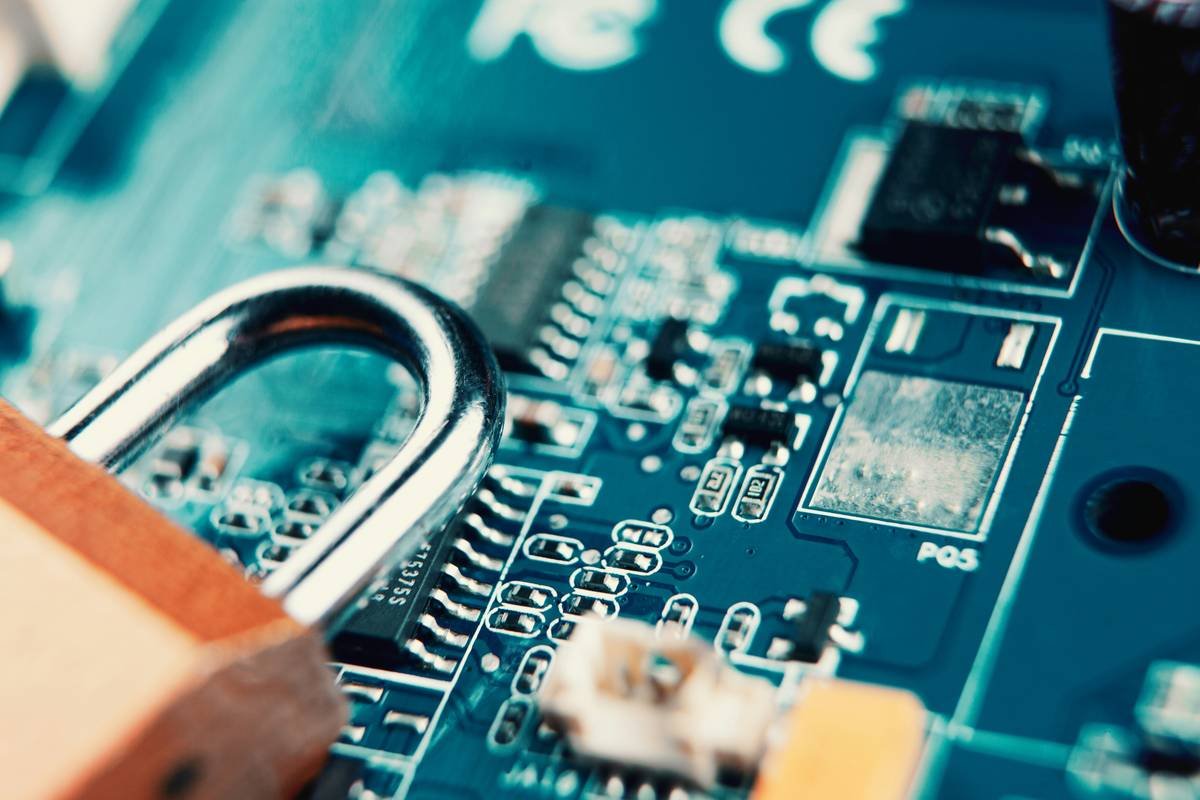
- Preventing unauthorized remote access.
- Stopping malware attacks mid-operation.
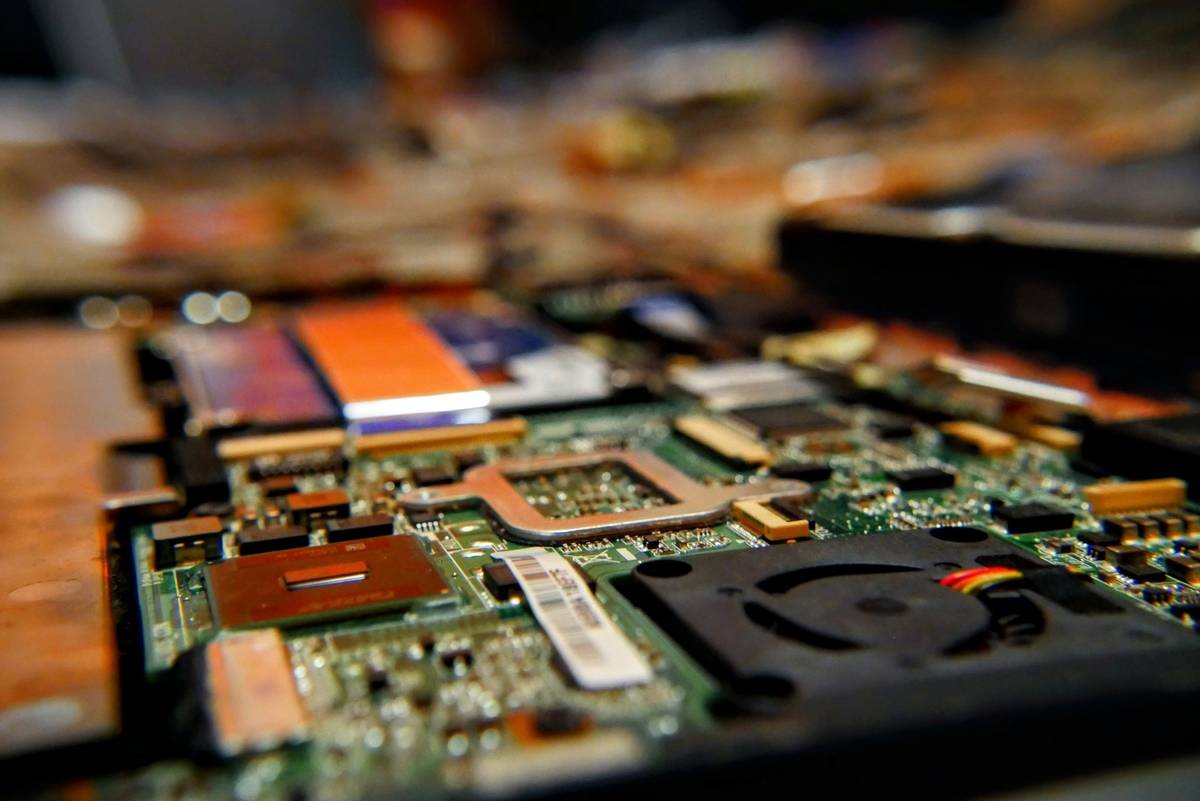
- Shutting down overheating systems to prevent hardware damage.
Grumpy Optimist Dialogue:
Optimist You: “It’s just a button; how hard can it be?”
Grumpy You: “Ugh, fine—but only if coffee’s involved.”
Sounds like your laptop fan during a 4K render—whirrrr. But trust us, skipping this setup isn’t worth the risk.
Step-by-Step Kill Switch Installation Guide
Step 1: Gather Your Tools and Materials
You’ll need:
- Kill switch hardware (manual toggle, push-button, etc.)
- Screwdrivers and wire strippers
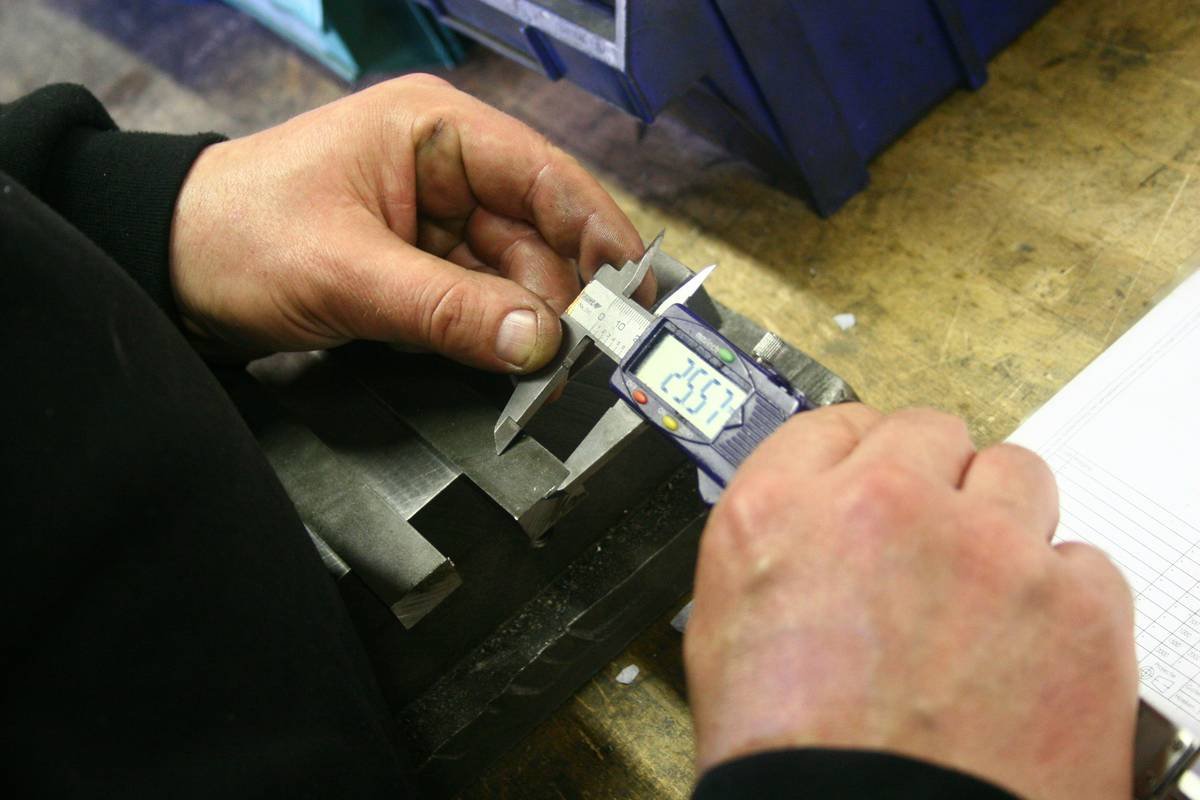
- Multimeter for testing circuits
Step 2: Plan the Circuit Placement
Decide whether you want the kill switch to interrupt power, internet connectivity, or both. This choice depends on your goals:
- For physical device control: Interrupt main power lines.
- For cybersecurity: Block Ethernet cables or Wi-Fi antennas.
Step 3: Install the Hardware
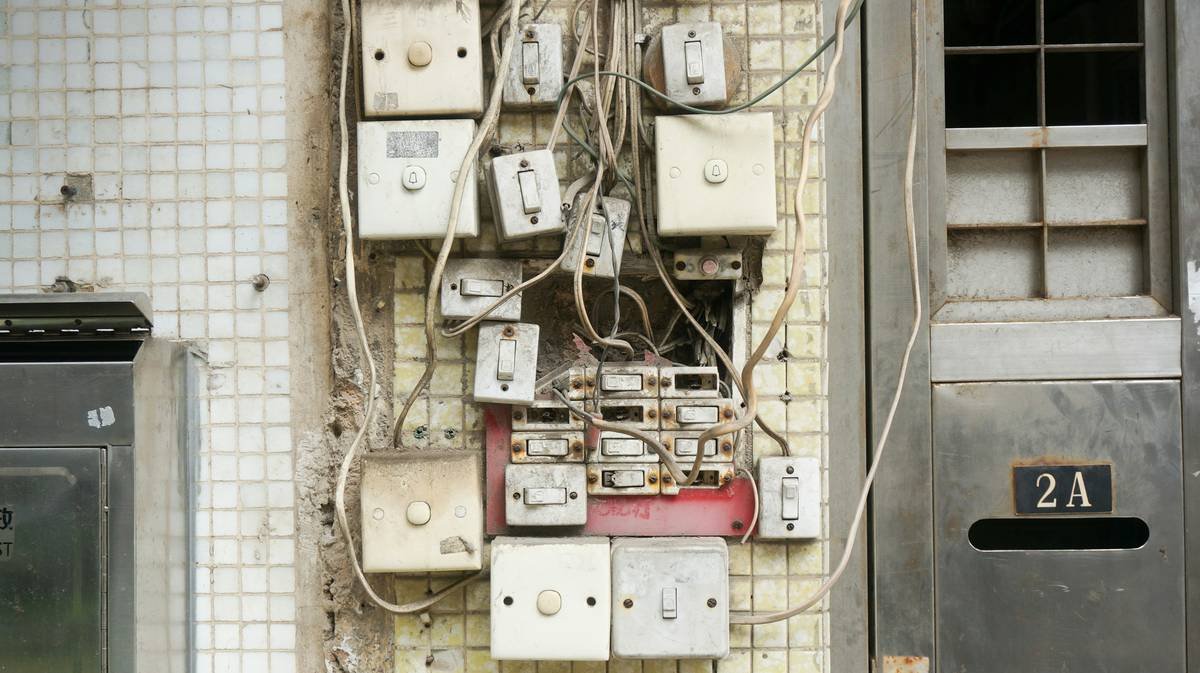
Carefully connect wires according to your planned circuit diagram. Make sure to isolate live wires with electrical tape. Double-check all connections before proceeding.
Step 4: Test Thoroughly
Use a multimeter to ensure the switch works as intended. Flip it on and off multiple times while monitoring your system’s response.
Tips & Best Practices for Kill Switch Setup
- Avoid cheap switches—they may fail under pressure.
- Label every connection clearly so future troubleshooting doesn’t become a nightmare.
- Keep the switch easily accessible—but not TOO accessible (pets/kids might mess with it).
Terrible Tip Disclaimer: DO NOT attempt DIY installation without proper training. Electrical mishaps can lead to fires or electrocution.
Kill Switch Success Stories
Here’s a true story: A tech startup saved thousands in potential ransomware losses thanks to their pre-installed kill switch. When hackers attempted to breach their system, the automated kill switch kicked in, severing external communication instantly.
Frequently Asked Questions About Kill Switches
Can I install a software-based kill switch instead?
Yes, but they’re less reliable than hardware versions since they rely on functioning software.
Will a kill switch void my warranty?
Check your product’s terms first. Some warranties don’t cover modifications.
Do I really need one?
If you value security and peace of mind, absolutely.
Conclusion
Congrats! You now know how to master kill switch installation. From understanding why they matter to implementing them step-by-step, you’re well-equipped to protect your tech. Remember, practice makes perfect, and patience pays off.
Like a Tamagotchi, your kill switch setup needs daily care—and maybe some coffee!

