Ever had a piece of tech fail so catastrophically that you wished there was an emergency off-switch? You’re not alone. Whether it’s servers overheating, surveillance cameras glitching, or IoT devices going rogue, monitoring systems can sometimes feel like ticking time bombs. Enter the kill switch hardware test: your secret weapon for nipping tech disasters in the bud.
In this guide, we’ll explain why kill switch hardware tests are crucial for reliable tech management and walk you through how to implement them effectively. By the end of this post, you’ll know:
- What a kill switch hardware test is (and why it’s not just “turning it off and on again”)
- A step-by-step process to set up your own kill switch testing routine
- Tips to prevent common mistakes when using kill switches
Table of Contents
- Why Kill Switches Are More Than Just Panic Buttons
- How to Perform a Kill Switch Hardware Test Safely
- Pro Tips for Mastering Kill Switch Best Practices
- Real-Life Examples of Kill Switch Success Stories
- Frequently Asked Questions About Kill Switch Testing
Key Takeaways
- Kill switch hardware tests ensure your monitoring systems stay under control during critical failures.
- A proper setup involves both physical hardware checks and software integration for maximum reliability.
- Ignoring regular kill switch maintenance could lead to costly downtime—or worse, legal issues.
Why Kill Switches Are More Than Just Panic Buttons
Here’s a scenario: Imagine your office security camera suddenly starts recording everything upside down because of a firmware update gone wrong. Or picture an industrial robot arm malfunctioning at full speed toward fragile equipment. Sounds horrifying, right?
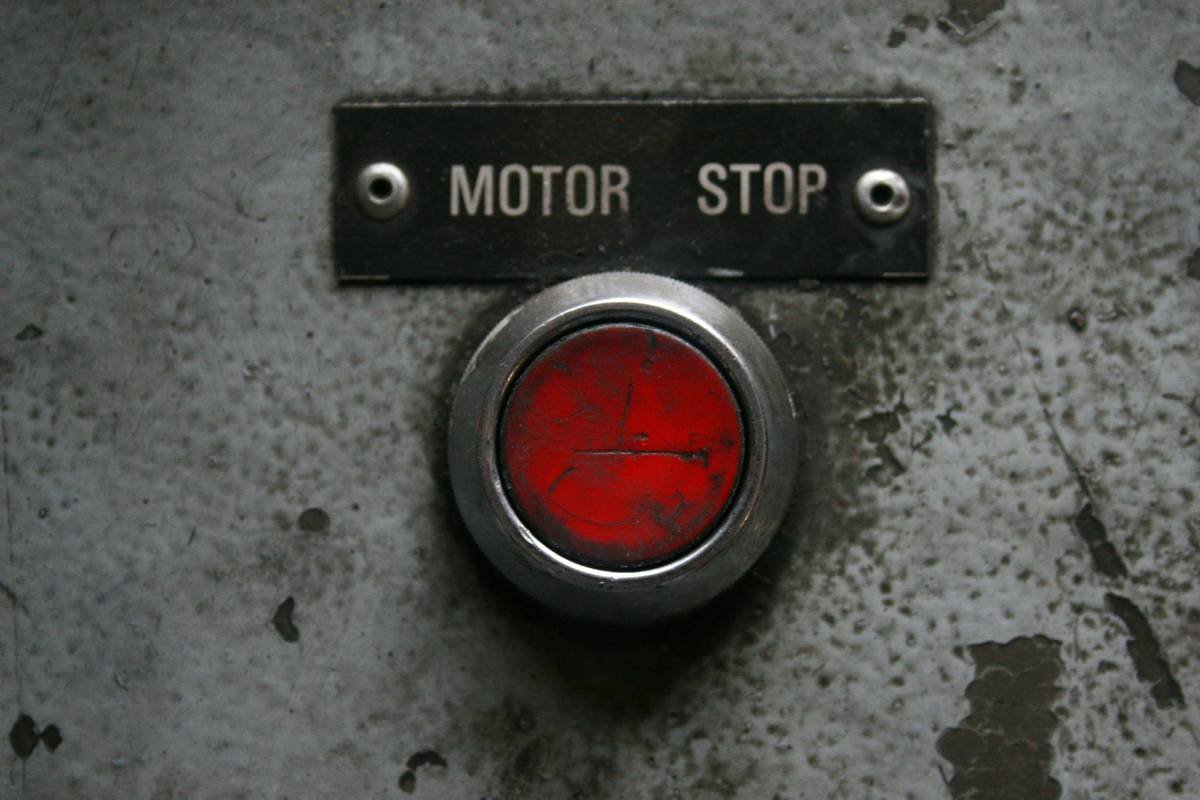
This is where kill switches shine. These aren’t just big red buttons from sci-fi movies—they’re lifesavers in real-world tech environments. I once ignored adding a kill switch to a project involving IoT sensors… BIG mistake. A minor bug caused all connected devices to freeze simultaneously. “I should’ve known better,” I muttered while rebooting each device one by one—ugh.

An overview diagram illustrating how kill switches function as safeguards within various systems.
To make things worse, modern monitoring setups often rely on cloud-based integrations that complicate manual shut-offs. That’s why performing periodic kill switch hardware tests is non-negotiable if you care about keeping your tech stack resilient.
The Grumpy Optimist Debate:
Optimist You: “Just slap on a basic switch—it’s easy!”
Grumpy You: “Easy? Try explaining THAT approach to IT compliance auditors after something breaks.”
How to Perform a Kill Switch Hardware Test Safely
If you think setting up a kill switch is child’s play, let me stop you right there. There’s actually a methodical way to go about this without frying circuits or voiding warranties. Follow these steps:
Step 1: Assess Your Tech Environment
Identify which devices or systems need kill switches. Focus on mission-critical assets like:
- Network routers
- Surveillance gear
- Industrial machinery
Step 2: Choose the Right Type of Kill Switch
Not all switches are created equal. Some options include:
- Mechanical switches (simple but effective)
- Software-enabled overrides
- Hibrid solutions combining both approaches

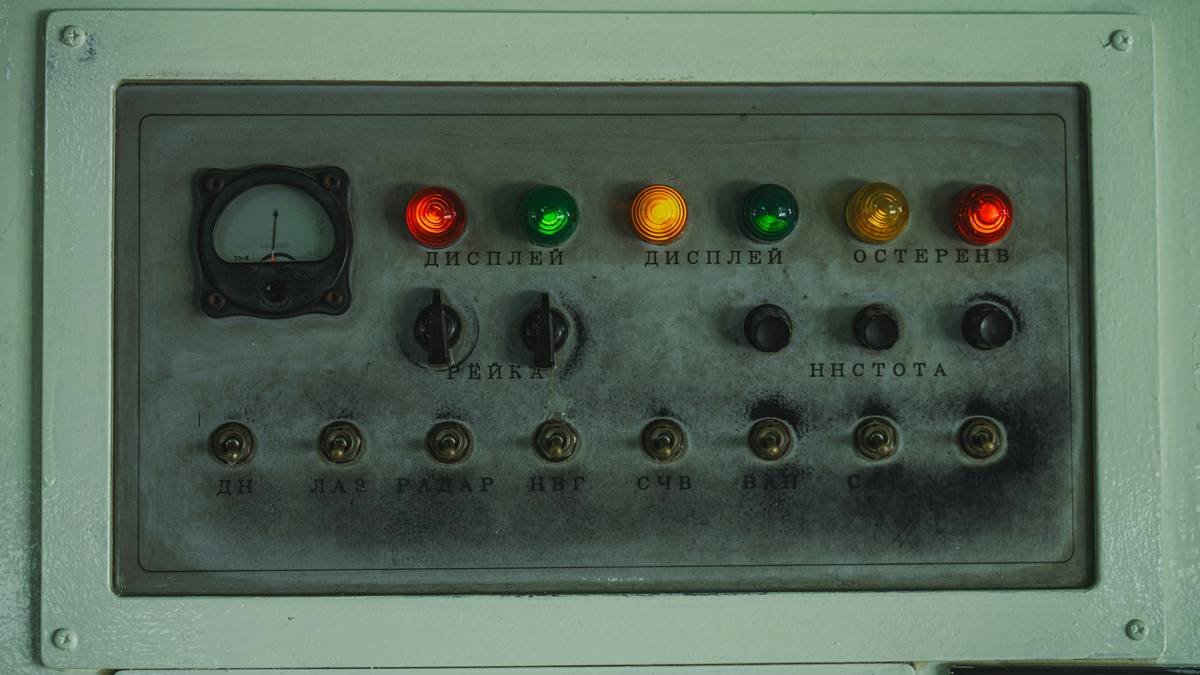
Visual comparison of mechanical, software, and hybrid kill switch designs.
Step 3: Conduct Regular Tests
Treat your kill switch like a fire alarm—it needs drills! Schedule quarterly tests to ensure they work seamlessly. Document any anomalies—you never know when regulators might ask for proof.
Pro Tips for Mastering Kill Switch Best Practices
Now that you understand the basics, here are some pro tips to level up your game:
- Automate Where Possible: Use smart scripts to trigger kill events automatically based on predefined thresholds.
- Keep Documentation Handy: Label every kill switch clearly. Trust me—“Mystery Button #3” won’t fly during emergencies.
- Ventilate & Inspect: Ensure physical access to kill switches isn’t blocked. Sounds like “duh,” but trust me—it happens.
Rant Alert!
Don’t even get me started on companies skimping on kill switches to save costs. Cutting corners here is like driving without brakes—it saves pennies now but costs millions later. Stop being penny-wise and pound-foolish.
Real-Life Examples of Kill Switch Success Stories
Let’s talk about Tesla’s automated braking system. Thanks to well-implemented kill switch protocols, their cars can halt immediately upon detecting hazards—a literal life-saver.
Another gem comes from NASA. When the Mars Rover experienced unexpected glitches, its built-in kill switch allowed engineers to reset remotely instead of losing millions worth of equipment.
NASA’s Mars Rover showcasing the importance of fail-safe mechanisms including kill switches.
Frequently Asked Questions About Kill Switch Testing
Q: Can I install a DIY kill switch?
Technically, yes—but unless you’re an electrical engineering wizard, hiring a professional is safer and smarter.
Q: How often should I perform a kill switch hardware test?
Quarterly is ideal. If you operate high-risk systems, consider monthly tests.
Q: What’s a terrible tip people give about kill switches?
“Just unplug the machine!” Newsflash: Not all systems allow such simplistic fixes. Downtime risks multiply exponentially.
Conclusion
By now, you’re armed with everything needed to master kill switch hardware tests. They may seem simple, but their impact on your technology ecosystem is immeasurable. From preventing chaotic meltdowns to ensuring regulatory compliance, these little lifesavers deserve more attention than they typically receive.
So, next time someone brushes off kill switches as unnecessary fluff, remind them: “It’s better to have it and not need it than to need it and not have it.” Wise words indeed.
Like a Tamagotchi, your tech needs daily care—but unlike virtual pets, failing to maintain your kill switch could mean actual chaos.