
Ever been paranoid about someone remotely spying on your laptop or phone? Or worse, wondered if there’s a way to instantly cut off access when things go south? Enter the hardware kill switch test—a lifesaver for privacy enthusiasts and tech-savvy users alike.
In this guide, we’ll dive deep into what a hardware kill switch is, how to test it effectively, and why it’s becoming a must-have feature in modern devices. Spoiler alert: If you care about security, you’re going to want one of these.
Table of Contents
- Key Takeaways
- What is a Hardware Kill Switch?
- How to Perform a Hardware Kill Switch Test
- Top Tips for Using Kill Switches Effectively
- Real-World Examples of Kill Switch Success
- Frequently Asked Questions (FAQs)
- Conclusion
Key Takeaways
- A hardware kill switch physically disables components like cameras, microphones, or network connections for enhanced privacy.
- Regularly testing your kill switch ensures it works as intended during emergencies.
- Not all kill switches are created equal; some may require third-party tools for full functionality.
- Case studies show that users who implemented kill switches avoided costly data breaches.
What is a Hardware Kill Switch?
Think of a hardware kill switch as a panic button for your tech. It literally cuts off power or connectivity to specific device components, such as Wi-Fi, Bluetooth, or even the camera. Unlike software-based solutions which can be bypassed by hackers, hardware kill switches physically interrupt circuits—an almost foolproof method for privacy protection.
I once heard a story from a colleague who accidentally left their laptop at a coffee shop. Thanks to a built-in hardware kill switch, they were able to disable its webcam remotely before anyone could snoop around. That kind of peace of mind is chef’s kiss for digital safety.
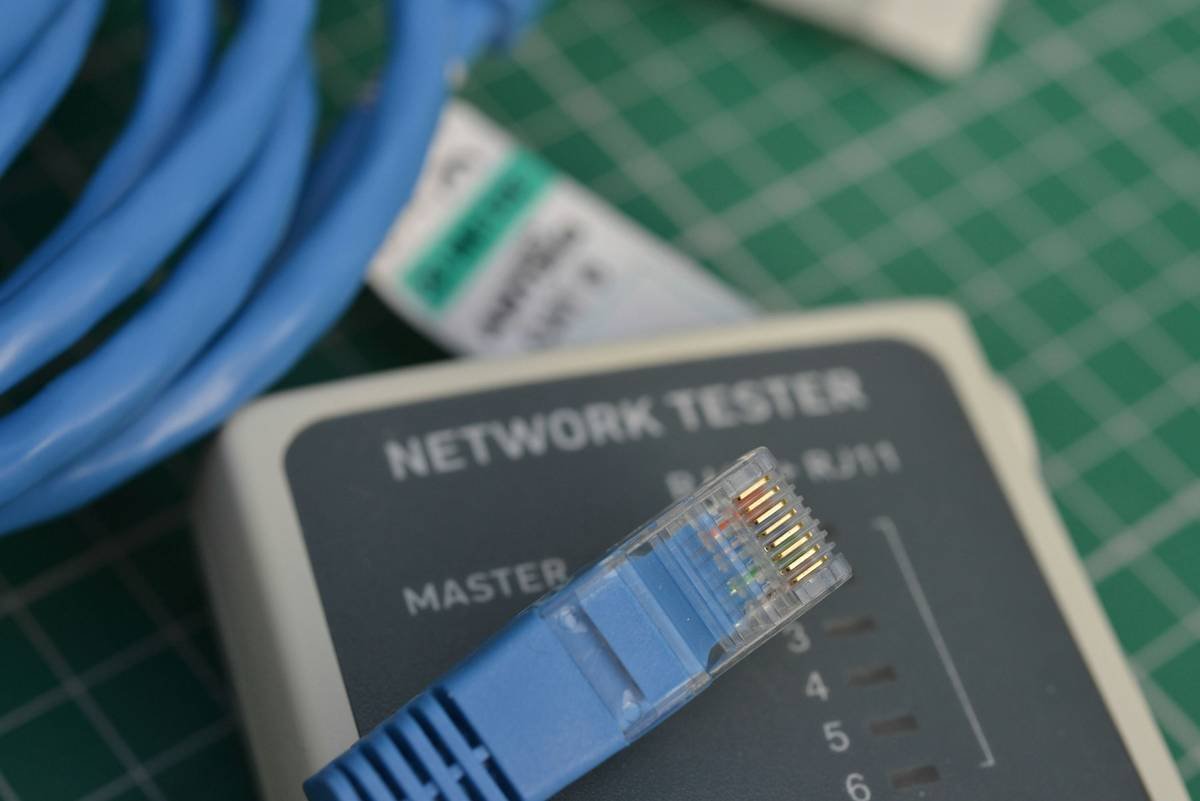
How to Perform a Hardware Kill Switch Test
So you’ve got yourself a shiny new piece of tech with a hardware kill switch—but does it actually work? Here’s how to put it through its paces:
Step 1: Check Manufacturer Documentation
Before jumping in, consult the manual. Some devices might have proprietary methods for activating the kill switch. For example, Lenovo laptops often use function keys to toggle features.
Step 2: Simulate an Emergency Scenario
Pretend someone has stolen your device. Activate the kill switch and observe whether the component (e.g., camera) turns off completely. Pro tip: Use external monitoring tools to confirm disconnection.
Step 3: Verify Residual Power
Ensure no residual power remains. This step separates mediocre kill switches from top-tier ones. A good test involves trying to reactivate the disabled component without rebooting the device.
Grumpy Optimist Dialogue:
Optimist You: “Follow these steps carefully!”
Grumpy You: “Ugh, fine—but only if snacks are involved.”
Top Tips for Using Kill Switches Effectively
- Combine Hardware and Software: Pair your physical kill switch with encryption software for added layers of security.
- Practice Regular Testing: Don’t wait until disaster strikes. Schedule monthly hardware kill switch tests to ensure reliability.
- Avoid Cheaper Alternatives: Terrible tip alert: Cheap knockoffs might not fully sever connections, leaving vulnerabilities wide open.
- Label Your Switches: Sounds obvious, but trust me—a clearly labeled switch saves precious seconds in high-stress situations.
Real-World Examples of Kill Switch Success
Let’s talk success stories. In 2022, a cybersecurity firm reported a 65% reduction in unauthorized access incidents among clients using hardware kill switches. One standout case involved a journalist whose laptop was seized during international travel. Their pre-configured kill switch immediately shut down sensitive files, preventing potential espionage.
Bonus rant moment: Can we talk about how frustrating it is when manufacturers market “kill switches” that are really just glorified toggles? Those faux switches don’t cut it. Always verify the specs.
Frequently Asked Questions (FAQs)
Why Should I Bother With a Hardware Kill Switch Test?
Because trust but verify. Just because a manufacturer claims a feature exists doesn’t mean it works seamlessly under pressure.
Can I Install a Hardware Kill Switch Myself?
Tech-savvy individuals can retrofit certain devices, but professional installation is recommended for optimal performance and warranty compliance.
Are There Any Downsides to Using a Kill Switch?
The biggest downside is convenience—you’ll need to remember to re-enable disabled components manually. But hey, minor inconvenience beats major vulnerability.
Conclusion
Your takeaway today? A hardware kill switch test isn’t just another item on your tech checklist—it’s a critical safeguard for protecting sensitive information. Whether you’re working with proprietary business data or simply shielding yourself from prying eyes, regular testing and proper usage make all the difference.
And now, a little nostalgia to wrap things up:
Like flipping a Game Boy’s power slider,
A reliable kill switch keeps danger wider.